
I thought I would create a full blog post of some of my favorite elementary art projects for fall with links to all of the resources and videos you might need!
Autumn Art History
I have a full Art History Inspired step-by-step handout resource for creating works with your students using fall imagery as the subject matter for a style-based art history lesson!

You can find the handouts HERE: Autumn Art History And you can find a Reel with more info about what's included in the guides HERE.
I have art making guides that help your students use fall imagery to create unique works of art! Great for a choice-based art classroom.


You can find the guides HERE: Fall Art Making Guides
Warm Color House Collage


I love connecting reading and art, and these kindergarten "Little House" collages are so fun for fall. We read the book "The Little House" and follow the step by step. This lesson is part of my Kindergarten Art Curriculum Pack which you can find HERE.
Barn Quilts


I love connecting barn quilts in my curriculum. The full lesson plan for these 4th grade barn quilts is in my 4th grade curriculum lesson pack which you can find HERE.
Zentangles
I love using Zentangles in the art room because the imagery can be anything, but fall imagery is super fun for these! I have a full Zentangle lesson plan in my 4th grade curriculum pack.

Fall Landscapes


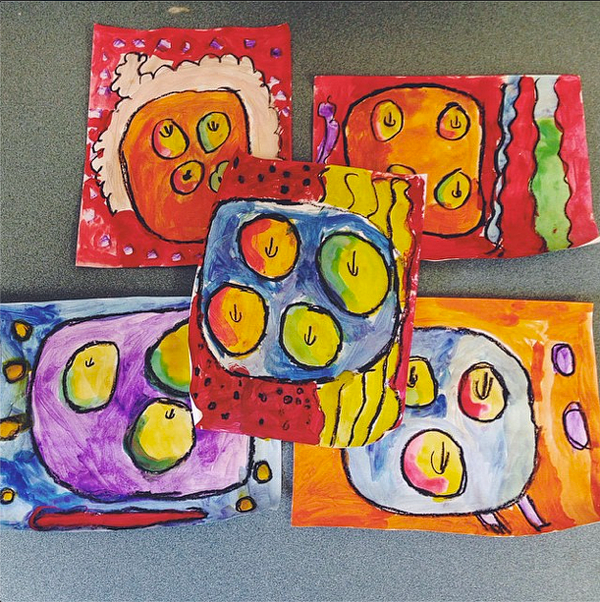
There's just something about a pumpkin patch in the fall! You can find a free pumpkin patch handout in my TpT HERE and a full video tutorial for this lesson HERE. You can also find the full lesson plan in my 1st grade curriculum lesson pack HERE. You can also find the apple still life lesson below in the 1st grade curriculum pack!


Fall is a great time to review color families, especially warm colors and secondary colors. I like doing these pumpkins with kindergarten, and the full lesson plan is in my Kindergarten curriculum lesson pack HERE.

Negative Space Splatter Painting

Georgia O'Keeffe


Skulls, warm colors, flowers, and a November birthday? Say no more! Georgia O'Keeffe is an awesome fall artist. You can find my Desert Art Making Guides with steps to creating works inspired by Georgia O'Keeffe HERE.


So many of these offer lots of choice! Setting your kids free with materials and all of these guides as inspiration to create their own works is also a great option. Happy creating!


